fbpx
Minnesota 612-469-9707
Home Inspections Blog

Category Archives: Home Inspections

Carbon Monoxide Detectors: Facts and Tips

You might have heard of carbon monoxide as a silent killer. It’s truly undetectable to the human eye and nose and hundreds of people die from it every year in the United States.

This gas has no color or odor and forms from gas, oil, wood, and coal as a result of faulty appliances and other sources in your home. Some places carbon monoxide originates from include:

  • Furnaces
  • Stoves and ovens
  • Clothes dryers
  • Grills (gas and charcoal)
  • Automobile engines
  • And more

These sources are found in almost every home, and if they’re malfunctioning or installed poorly, they could put you at risk of carbon monoxide poisoning. If the gas is present in your home, the only way to make sure you’re aware of it is to install a carbon monoxide detector in your home.

Where to avoid installing your carbon monoxide detector

If you’ve recently purchased a carbon monoxide detector, you’ve made a great decision that could save your life in the future. However, there are places in your home to avoid when choosing a place to install it. Places to avoid include:

  • Immediate proximity of fuel-burning appliances (under 5 feet away)
  • Bathrooms and other humid areas
  • Near places where chemicals are stored, such as kitchens
  • Garages, furnace rooms, or other dusty and dirty places.
  • Crawlspaces, attics, and porches
  • Near ceiling fans, vents, A/C units, and windows

Seems like there are a lot of places to avoid, right? It may seem tedious, but you can never be too careful when it comes to carbon monoxide and safety.

Where to install your carbon monoxide detector

Now that you know some bad locations for a carbon monoxide detector, it’s important to know the good locations. The best parts of your house to install a carbon monoxide detector include:

  • 10 feet or less from each bedroom door and close to all sleeping areas
  • Each and every floor of the house
  • Close to, but not directly above, combustion appliances like furnaces, water heaters, fireplaces
  • On the ceiling of rooms with a permanently installed fuel-burning appliances
  • Every HVAC zone of the house (and commercial buildings)

Carbon monoxide is an extremely dangerous gas that must be taken seriously. In addition to adding detectors to your home, you should also consider home inspections and yearly appliance inspections. If you need a home inspection, we’re here to help. Contact us today to schedule a home inspection!

Do I Have Asbestos In My Home?

Do I Have Asbestos In My Home?

(By: Comfort Home Inspections owner Keith Hoaglund)

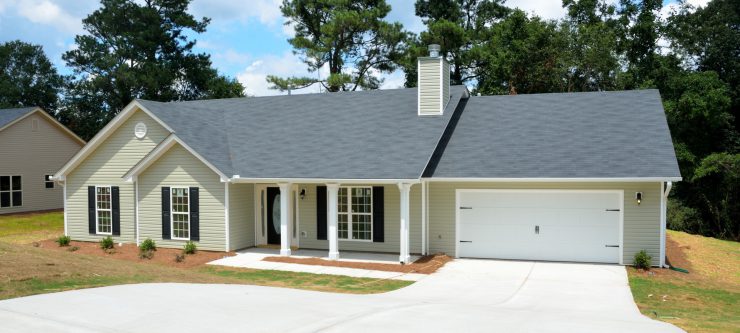
This a question I get frequently when inspecting older homes. Unfortunately, with regard to homes built prior to 1980, my answer generally is “most likely.” We used asbestos in the manufacture of many building components in that time period, including but not limited to:

  • Gas appliance vent pipe
  • Boiler pipe insulation
  • Vinyl floor tiles
  • Vinyl floor glue
  • Wallboard patching compound
  • Window glazing
  • Roofing materials
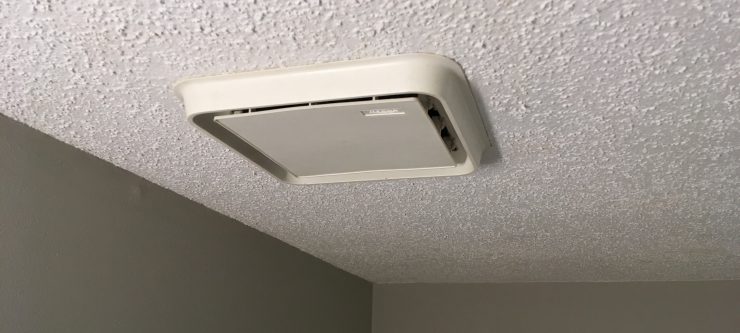
  • Heating and cooling duct tape and insulation
  • Plaster
  • Fiber cement siding
  • Textured ceiling spray
  • Vermiculite Insulation

The larger question becomes, “Will it hurt me?” This is more difficult to answer. The mere presence of asbestos in your home is not hazardous in and of itself. Asbestos fibers that are well contained within an undisturbed building component cannot hurt you.

When fibers become loose, crumbly or “friable,” however, they can enter your lungs and cause damage. The best place for materials in good condition suspected to contain asbestos is right where they are. Disturbing these components presents a risk of releasing fibers and this should only be completed by qualified contractors.

A visual inspection cannot determine the presence of asbestos. It can, however, identify components whose appearance is consistent with asbestos-containing materials, and further testing can be done. To determine if a component contains asbestos, a sample must be examined by a qualified lab.

If materials are present that contain asbestos and are in poor condition—cracked, crumbled, loose, or otherwise damaged—they need to be properly removed by a qualified remediation contractor.

The bottom line is that most homes built prior to 1980 have asbestos-containing material within them, but this should not necessarily deter you from purchasing a home of this vintage. More frequently than not, the asbestos is safely contained within the building component and does not pose a threat to you.

Inspecting Your Bathroom Exhaust Fan

Inspecting Your Bathroom Exhaust Fan

Your bathroom exhaust fan removes excess moisture (from hot showers), chemical fumes and bathroom odors and expels them outside. The entire system runs from the ceiling in your bathroom, through your attic and to the outside your home.

When you buy a home, your home inspector will check the entire system to make sure it’s installed and functioning properly. But if you’d like to check the bathroom exhaust system while you’re still living in your home to make sure everything is working properly, follow these steps.

In The Bathroom

The ceiling vent and fan in the bathroom should be tight (not loose), clean from dust and should have a smooth, unobstructed sound while running.

  • Using the wall switch, turn the bathroom fan on and off. Listen for any irregular sounds. A crooked fan can scrape against other parts of the exhaust system. Your bathroom fan should have a smooth hum.
  • Visually look for a buildup of dust on the vent covering. Dust can impede airflow and cause moisture and odors to stay in your bathroom. Clean if necessary.
  • With the fan turned off, remove the vent covering and check the fan for dust buildup. Clean if necessary.

Attic Components

If you’re able, find the adjacent ductwork of the exhaust fan in your attic above your bathroom. The ductwork should be straight for 3 feet from the base of the fan and vent (curved duct causes air to flow back down into the fan). Any bends in the duct after that should be as gradual as possible.

  • Check the fan housing for moisture or indications of past dampness (stained drywall, mold, etc.). Moisture issues may mean that your air is venting into the wrong place or your fan base isn’t sealed properly.
  • Look for light from the bathroom coming through the sides of the exhaust base. The base shouldn’t have any excess space and should ideally have a lining of caulk or foam sealant between its edges and the ceiling.
  • Make sure the duct is sealed to the fan housing.

Outside of the Home

The exhaust duct in the attic should lead all the way to an exterior wall or roof. Bathroom exhaust venting in the attic or ceiling can cause moisture problems like mold and rotting wood.

Once the duct reaches your home’s exterior, the end should have a vented wall cap. These wall caps have flaps that open while the exhaust is running and close while not. The wall cap should also have a screen to keep animals and insects out.

The exhaust shouldn’t be vented near a walkway or outdoor living area and should be 10 feet away from any air intake, like a fresh air intake duct.

  • Make sure the exhaust leads outside and not into the attic.
  • Make sure the wall cap vent flaps are able to open freely.
  • See if the wall cap is sealed against the house with caulking or insulation.
  • Check the area. See if the exhaust is vented into a space that you or your guests may be in.